
HC Air
Monitor
A USB-C monitor I designed and built for my desk. It learns the room, notices changes, and shows them in light.
Read the room.
On a USB charger, the monitor quietly glows green, amber, or red as the room changes. Plug it into a laptop and this site becomes its screen: temperature, humidity, pressure, and a live trace of the gas sensor.
The connection runs straight through the cable. There’s no app to install, account to create, or cloud between you and the board.
The usual room
Gas resistance is within its learned range.
Something changed
A drop in resistance changes the light to amber.
A bigger change
A larger drop turns it red. Check what changed nearby.
It measures changes relative to the room—not a calibrated VOC concentration or an air safety score.
One board. Built from scratch.
My first air monitor was a senior design project: a dev board, sensor breakouts, a battery, and an app. This time I wanted to build the whole object.
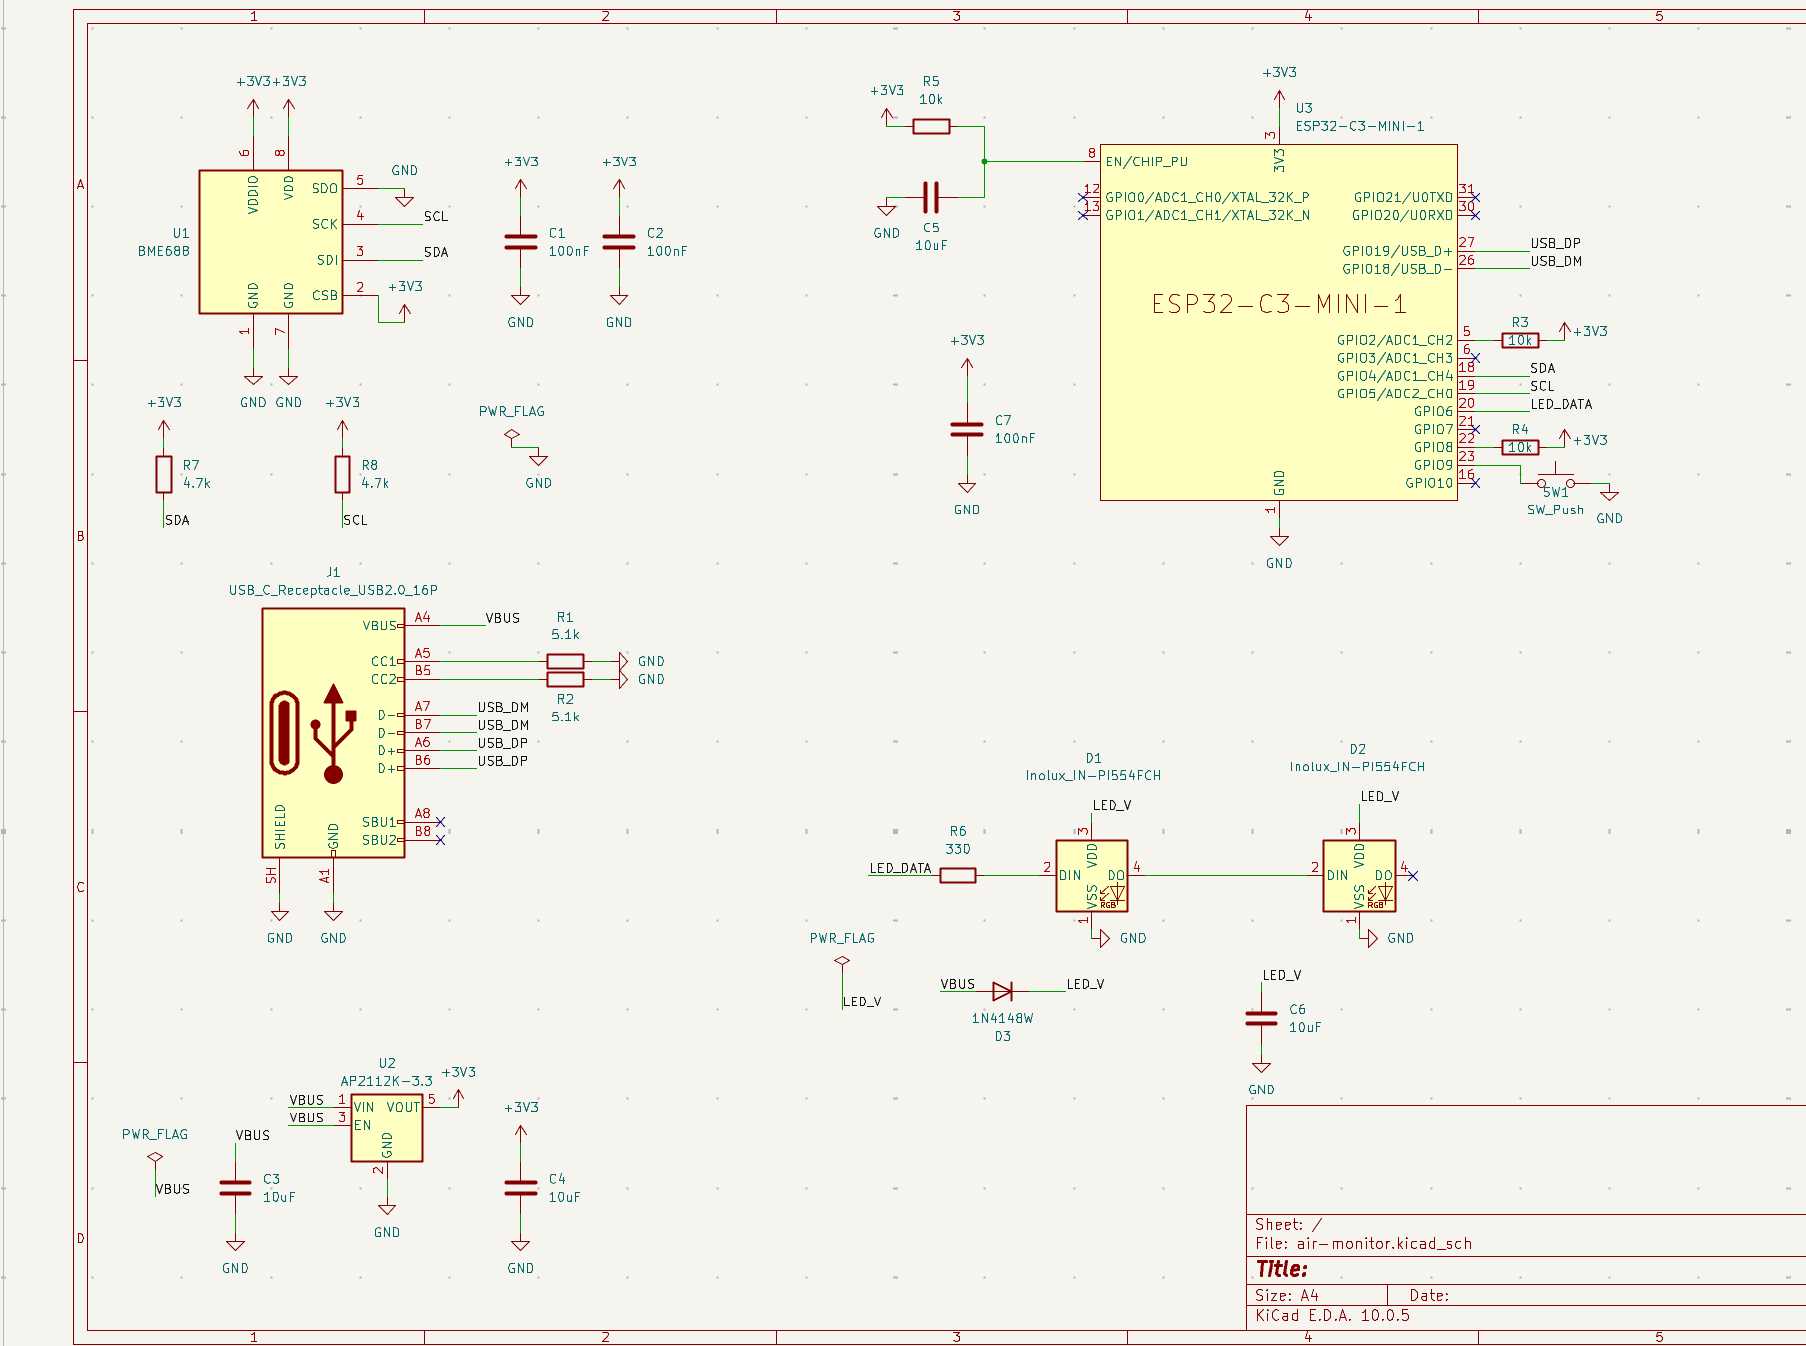
I designed a two-layer PCB around an ESP32-C3 and a BME688 sensor, assembled it with a stencil and hot plate, and fitted a two-part printed enclosure. Two boards are now working. The finished device is just 55 × 55 × 18 mm.
Hardware & firmware
Firmware first
I built the ESP-IDF firmware against a mock sensor while the PCBs were in the post. The real sensor slots into the same interface. Once ready, it sends one reading per second over USB.
Learning the baseline
The first 30 valid readings establish the reference. It adapts over roughly 30 minutes toward higher gas resistance and four hours toward lower readings, so a change doesn’t immediately become normal.
The assembly lesson
On Rev A, the BME688 needs to be rotated 180° relative to the silkscreen. Following the triangle put SDA on a ground pad. Finding and fixing the hidden assembly mismatch took two days.
Connect your monitor.
Connect with a USB data cable and a desktop browser that supports Web Serial.
Open the dashboard ↗